Grab bars for shower installation come down to three decisions: where the hands actually need support (entrance, long wall, and beside any seat), what the bar mounts into (studs are ideal, but rated hollow-wall anchors work when studs refuse to line up), and a bar rated for 250 lbs with the right texture. The bars themselves are the cheap part — Carex’s run $12.24–$23.55 and Vive Health’s $17.99–$38.99, verified July 2026 — and competent DIY grab bars for shower installation takes about an hour per bar on tile. This guide covers placement heights, stud and no-stud methods, and when to pay a professional instead.
Table of Contents
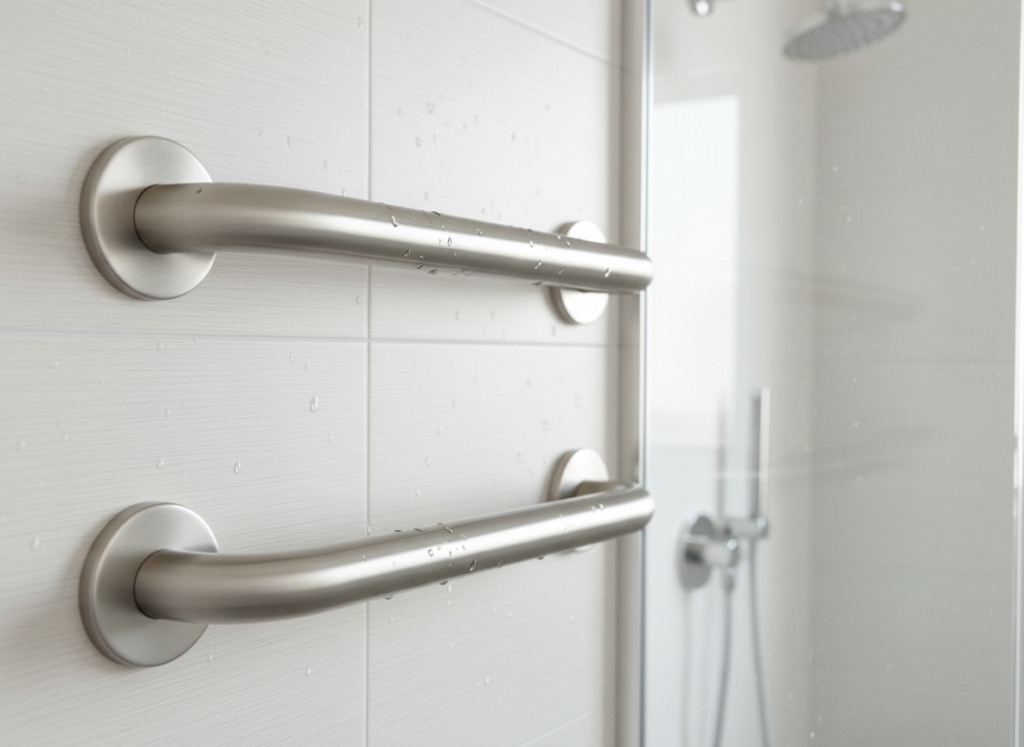
The quick reference
| Decision | The standard answer | Why |
|---|---|---|
| Horizontal bar height | 33–36″ from floor | ADA range; matches natural grip height |
| Entrance bar | Vertical, at the point of entry | Supports the step-in at changing heights |
| Weight rating | 250 lbs minimum (bar + anchors + wall) | ADA standard; covers dynamic loads |
| Mounting | Studs first, rated anchors second | Fall-arrest loads need structure |
| Length | 16–24″ most locations | Spans two studs at 16″ centres |
| Texture | Textured or knurled over smooth chrome | Grip with wet, soapy hands |
Where the bars actually go
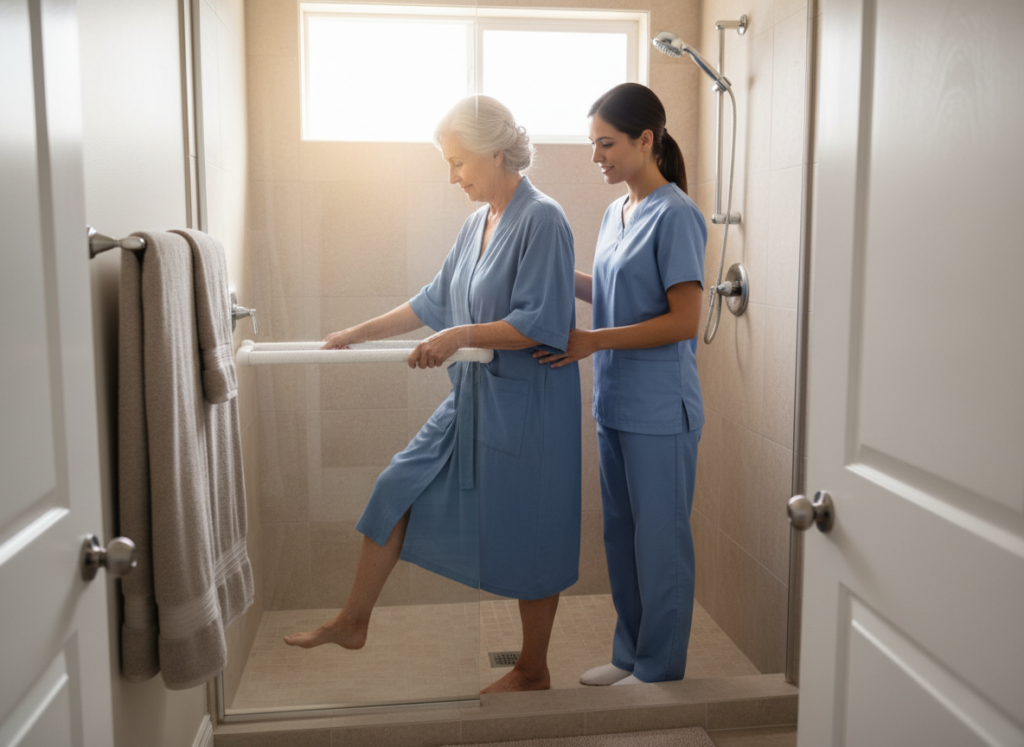
Skip the generic advice and watch your parent shower-adjacent for one day (or ask them to narrate their routine). The pattern is nearly universal, and it maps to three bars. Bar one, vertical, at the entrance: mounted so the hand grips it at hip-to-shoulder height mid-step — it stabilises the one-foot-in, one-foot-out moment.
Bar two, horizontal on the long wall, 33–36 inches up: the cruising rail for moving and turning inside the shower, and the bar that catches a slip. An angled variant (rising toward the showerhead end) suits taller users sharing with shorter ones.
Bar three, beside the seat if there is one: a shorter horizontal or angled bar at seat-transfer height, roughly where a chair armrest would be. In a tub-shower combination, bar one becomes a vertical at the tub’s entry edge and you add a short horizontal on the tub rim wall for the seated-to-standing move.
What never counts as a grab bar: towel bars, soap dish edges, shower door frames, and the sliding door track — the four things wet hands grab by default, none rated for more than a towel’s weight. If those are currently your parent’s handholds, that is the urgency level of this project. And because a shower fall usually happens behind a closed door, our guides to fall detection watches and waterproof emergency buttons cover the call-for-help layer that bars cannot provide.
Choosing the bars: what $12–$39 buys
Grab bars are commodity hardware where the specs matter and the branding mostly does not. The Carex Textured Wall Grab Bar (from $23.55, verified July 2026) is the reference product: stainless steel, 12 to 32 inch lengths, a textured chrome surface that stays grippable under soap, and screw-mounting into structure. The Carex Ultra Grip line (from $12.24) and Chrome Ultra Grip Bath Handle (from $16.01) cover shorter assist points, and Vive Health’s Metal Grab Bar ($17.99–$38.99 by length) is the equivalent line with multiple finishes.
Buy 1.25–1.5 inch diameter (the ADA range — small enough to wrap fingers around, large enough to press a palm against), and buy the length that spans two studs where possible: at standard 16-inch stud centres, that means 16, 24 or 32 inch bars.
On finish: “designer grab bars” in brushed nickel, matte black and bronze now cost only $10–20 more than institutional chrome at Home Depot, Lowe’s and the merchants above — and a bar that looks like bathroom hardware gets accepted, while one that looks like hospital equipment gets argued about. Moen and HealthCraft are the informational names to know at the premium end (towel-bar-styled and corner bars; prices vary by seller). One category to refuse: suction-cup bars sold as safety devices. They are balance assists for travel at most — never fall protection — and they release without warning on textured tile.
Grab bars for shower installation route one: into studs
Find the studs behind the tile: a good stud finder reads through cement board reasonably well, and outlet boxes and the pattern of screws in adjacent drywall confirm the 16-inch rhythm. Mark both flange positions so at least two of each flange’s three screws land in wood. Drill the tile with a carbide or diamond bit — painter’s tape over the mark stops the bit wandering, slow speed and light pressure stop the tile cracking — then switch to a wood bit for the stud behind.
Run a bead of silicone around the back of each flange (this seals the wall against water, the quiet killer of bathroom framing), drive stainless screws home, and torque-test: your full weight, pulling down and out, before anyone else touches it. An hour per bar including cleanup, and the result is rated by physics rather than adhesive.
Grab bars for shower installation route two: no studs
Studs land where the framer put them, not where your parent’s hand lands. When the right grab position has no wood behind it, the answer is a hollow-wall anchor system specifically load-rated for grab bars — not the plastic anchors in the junk drawer. The proven pattern is a toggle-style anchor (WingIts and Toggler SnapToggle are the known names): drill through tile and wallboard, feed the metal channel through the hole, let it flip flat against the back of the wall, ratchet the cap flush, and bolt the flange through.
Two anchors per flange, four per bar; each rated anchor holds hundreds of pounds in wallboard because the load spreads across the channel, not the plaster. You need about two inches of clear cavity behind the wall — check for pipes before drilling (that is what the entrance wall usually hides).
The same silicone-seal and torque-test rules apply, and one more: fiberglass and acrylic surrounds flex, so anchors that grip wallboard will not grip a flexing shell. Tub-surround installations either find studs, use manufacturer-approved surround anchors, or go to a professional. When in doubt in any rental, condo with concrete walls, or wavy old plaster — route three.
Installation route three: paying a professional (and paying nothing)
Professional grab bars for shower installation runs roughly $75–$150 per bar, hardware included at the upper end — searching “professional grab bar installation near me” surfaces both general handymen and aging-in-place specialists (look for CAPS certification, the NAHB’s aging-in-place credential, for anything structural). It is money well spent for concrete walls, fiberglass surrounds, or any installation you would not personally load-test with confidence.
And for eligible families, free grab bars for shower installation is genuinely available: many Area Agencies on Aging run home-modification programs that install grab bars at no cost, VA HISA grants cover bathroom safety hardware for veterans, some state Medicaid waivers fund minor home modifications, and Rebuilding Together chapters do volunteer installations for low-income seniors. The application-and-waitlist route takes weeks to months — so a common pattern is one DIY bar at the most urgent spot now, and the funded program for the full set.
The wall behind the tile: know before you drill
Tile is a veneer; what holds the bar is behind it, and grab bars for shower installation succeeds or fails on that backing. Cement board (most post-1990s tiled showers): the good case — drills predictably, holds toggles well, best case when screws also reach studs. Drywall/greenboard (older or budget builds): workable with rated toggles, but confirm the board is sound — water-softened gypsum crumbles, and a bar is only as strong as the wall it clamps.
Probe a screw hole; damp powder means stop and fix the wall first. Plaster and lath (pre-1960s): unpredictable — lath splits and plaster cracks; this is a professional’s wall. Fiberglass or acrylic surround: flexes, so standard toggles fail; find the studs behind the shell, use surround-specific mounting kits, or hire it out. Thirty seconds of identification changes the whole plan — tap the wall (hollow drum = cavity behind board; dull thud = plaster or masonry) and check the tub surround’s material where it meets the tile.
Concrete and brick (condos, basements) take the opposite approach: no toggles, but masonry anchors — sleeve or wedge type, rated for the load — hold superbly. Drilling tile-over-concrete needs a hammer drill and patience; this is also a fair place to spend the $75–$150 on a pro who owns one.
A real installation, start to finish
What grab bars for shower installation actually looks like as a job, start to finish. Saturday, 9:00: stud finder says studs at 14 and 30 inches from the corner — a 16-inch bar spans them with flanges centred. Mark at 34 inches floor-to-centre (the user is average height; her hand rests naturally there holding a mug). 9:15: painter’s tape on the marks, carbide bit, slow drill through tile, six holes. 9:40: wood bit into studs, silicone on both flange backs, stainless screws driven snug — not gorilla-tight; crushing tile is the classic last-minute error. 9:50: torque test — 190 lbs of adult pulling down, out, and sideways.
Nothing moves. 10:00: caulk smoothed, tape off, done. Total cost: $23.55 bar, $4 in screws and silicone, one hour. The same job with toggles adds twenty minutes and about $15 of anchors; the same job on plaster adds a phone call to a handyman.
Buying from Home Depot, Amazon, or the merchants here
Home Depot and Lowe’s are excellent for grab bars — wide in-store selection, ADA-rated house brands, and the anchors on the next shelf; if a cart is already going there for the drill bit, buy the bars there too. Amazon works with the usual marketplace discipline: brand storefronts, printed weight ratings, no unrated bargains. The Carex and Vive links in this guide are affiliate links that support the site at no cost to you — the products carry the same ratings wherever bought, and we would rather you buy the right bar anywhere than the wrong bar through us. What matters in grab bars for shower installation is the 250 lb system rating: bar, screws, anchors and wall, tested together by your own bodyweight before first use.
Full comparison
| Product | Price | Lengths | Mounting | Where to buy |
|---|---|---|---|---|
| Carex Textured Wall Grab Bar | from $23.55 | 12–32″ | Screw-in, drilling required | Carex |
| Carex Ultra Grip Grab Bar | from $12.24 | Multiple | Screw-in | Carex |
| Carex Chrome Ultra Grip Bath Handle | from $16.01 | 12″+ | Screw-in | Carex |
| Vive Metal Grab Bar | $17.99–$38.99 | Multiple | Screw-in | Vive Health (no affiliation) |
| Moen / HealthCraft designer bars | Varies by seller | Multiple + corner | Screw-in | Home Depot, Lowe’s (no affiliation) |
| Toggle anchor sets (WingIts, SnapToggle) | Varies | — | Hollow-wall, load-rated | Hardware stores (no affiliation) |
Frequently asked questions
How do you install grab bars without studs?
Use toggle-style hollow-wall anchors load-rated for grab bars (WingIts or SnapToggle class), two per flange: drill through the tile and wallboard, feed the metal channel through, flip it flat behind the wall, ratchet flush, and bolt the flange on. Rated anchors hold hundreds of pounds in wallboard. Never use ordinary plastic drywall anchors — they are not rated for fall-arrest loads.
How high should grab bars be in a shower?
Horizontal bars: 33–36 inches from the floor, per the ADA standard (section 609). Vertical entrance bars: positioned so the grip point falls between hip and shoulder mid-step. Seat-transfer bars: at armrest height relative to the seat, roughly 8–10 inches above it.
How much weight can a grab bar hold?
The ADA benchmark is 250 lbs for the complete installed system — bar, fasteners, anchors and wall together. A 250 lb bar on unrated anchors is not a 250 lb installation. Into studs or rated toggles, quality bars exceed the benchmark comfortably.
Are suction grab bars safe for showers?
Not as fall protection. Suction bars can detach without warning — temperature swings and textured tile defeat them — and they are sold with balance-assist disclaimers for a reason. Use them for travel steadying at most, never as the bar that catches a fall.
How much does professional grab bar installation cost?
Professional grab bars for shower installation typically costs $75–$150 per bar depending on wall type and region, often less per bar when several go in at once. Concrete, fiberglass surrounds and tile-over-plaster are the walls worth paying for. For eligible seniors, Area Agencies on Aging, VA HISA grants and Rebuilding Together chapters install bars free.
Where should grab bars be placed in a shower for elderly users?
Three positions cover the standard shower: a vertical bar at the entrance for the step-in, a horizontal bar at 33–36 inches along the long inside wall, and a transfer bar beside the seat if one is used. In tub-showers, add a short horizontal on the rim wall for seated-to-standing moves.
The bottom line
Three bars, correctly anchored — the whole grab bars for shower installation project — cost $50–$100 in hardware and one Saturday morning — or $300–$450 professionally installed — and they change the daily risk profile of the most dangerous room in the house. Buy textured 1.25–1.5 inch bars rated to 250 lbs, mount into studs where the studs cooperate and rated toggles where they do not, seal every flange with silicone, and load-test with your own weight before your parent’s ever depends on it. Then stop trusting the towel bar — and take it down if wet hands keep finding it.